How do I drill through ceramic and porcelain tile?
Installing a towel bar or toilet-paper holder often requires drilling through glazed ceramic tile, which is no easy task. So where to start? Let’s walk through the steps to drilling through ceramic and porcelain tiles.
STEP 1: USE THE CORRECT DRILL BIT
In drilling through tiles safely, using the appropriate drill bit is very important. There are three types of drill bits recommended to drill through a tile without breaking it:
STEP 1: USE THE CORRECT DRILL BIT
In drilling through tiles safely, using the appropriate drill bit is very important. There are three types of drill bits recommended to drill through a tile without breaking it:
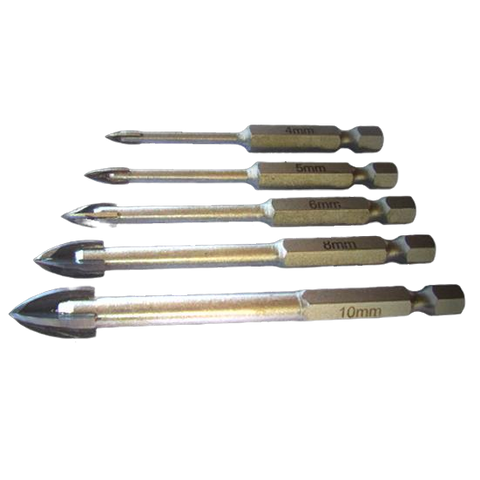
Tungsten Carbide Smith & ARROW tile bits– are shaped to reduce the risk of shattering brittle materials. A new patented design, they have a 4 x spear pointed, double chamfered, Tungsten Carbide blade tip that drills through the hardest materials neatly and 10 times faster than anything else on the market. If you want success with drilling tile, Smith & ARROW tile bits, used on a slower speed, with water, stay on point and don’t wander, cut faster and last longer, and we believe are the best product on the market for the job. Find them here. The video of these bits in action can be seen to the below.
Diamond-tipped drill bits– although quite expensive, this drill bit is very durable and known to be the second best after the tungsten carbide bit for drilling through tiles without shattering them. However, they have the major drawback of being very difficult to center, with the user really required to make a separate jig, like a hole in a piece of timber, to keep the bit from wandering.
Carbide-tipped masonry drill bits– are designed for drilling into hard-rock surfaces. Although they are not as durable as the Smith & ARROW Tungsten carbide bit or the diamond-tipped drill bit, they can be just as effective, with patience and accuracy. The problem with these bits is their shape significantly increases the risk of shattering porcelain and other brittle tiles.
*Do not use regular twist-drill bits as they can’t cut through fire-hardened glaze. An ordinary steel drill bit may fail to penetrate the tile, or cause it to shatter.
*Do not use a Hammer drill, or the tile will almost certainly shatter the tile. Use a standard drill on slowest speed (or a hammer drill with the hammer function turned off), and with water as a coolant wherever possible and safe.
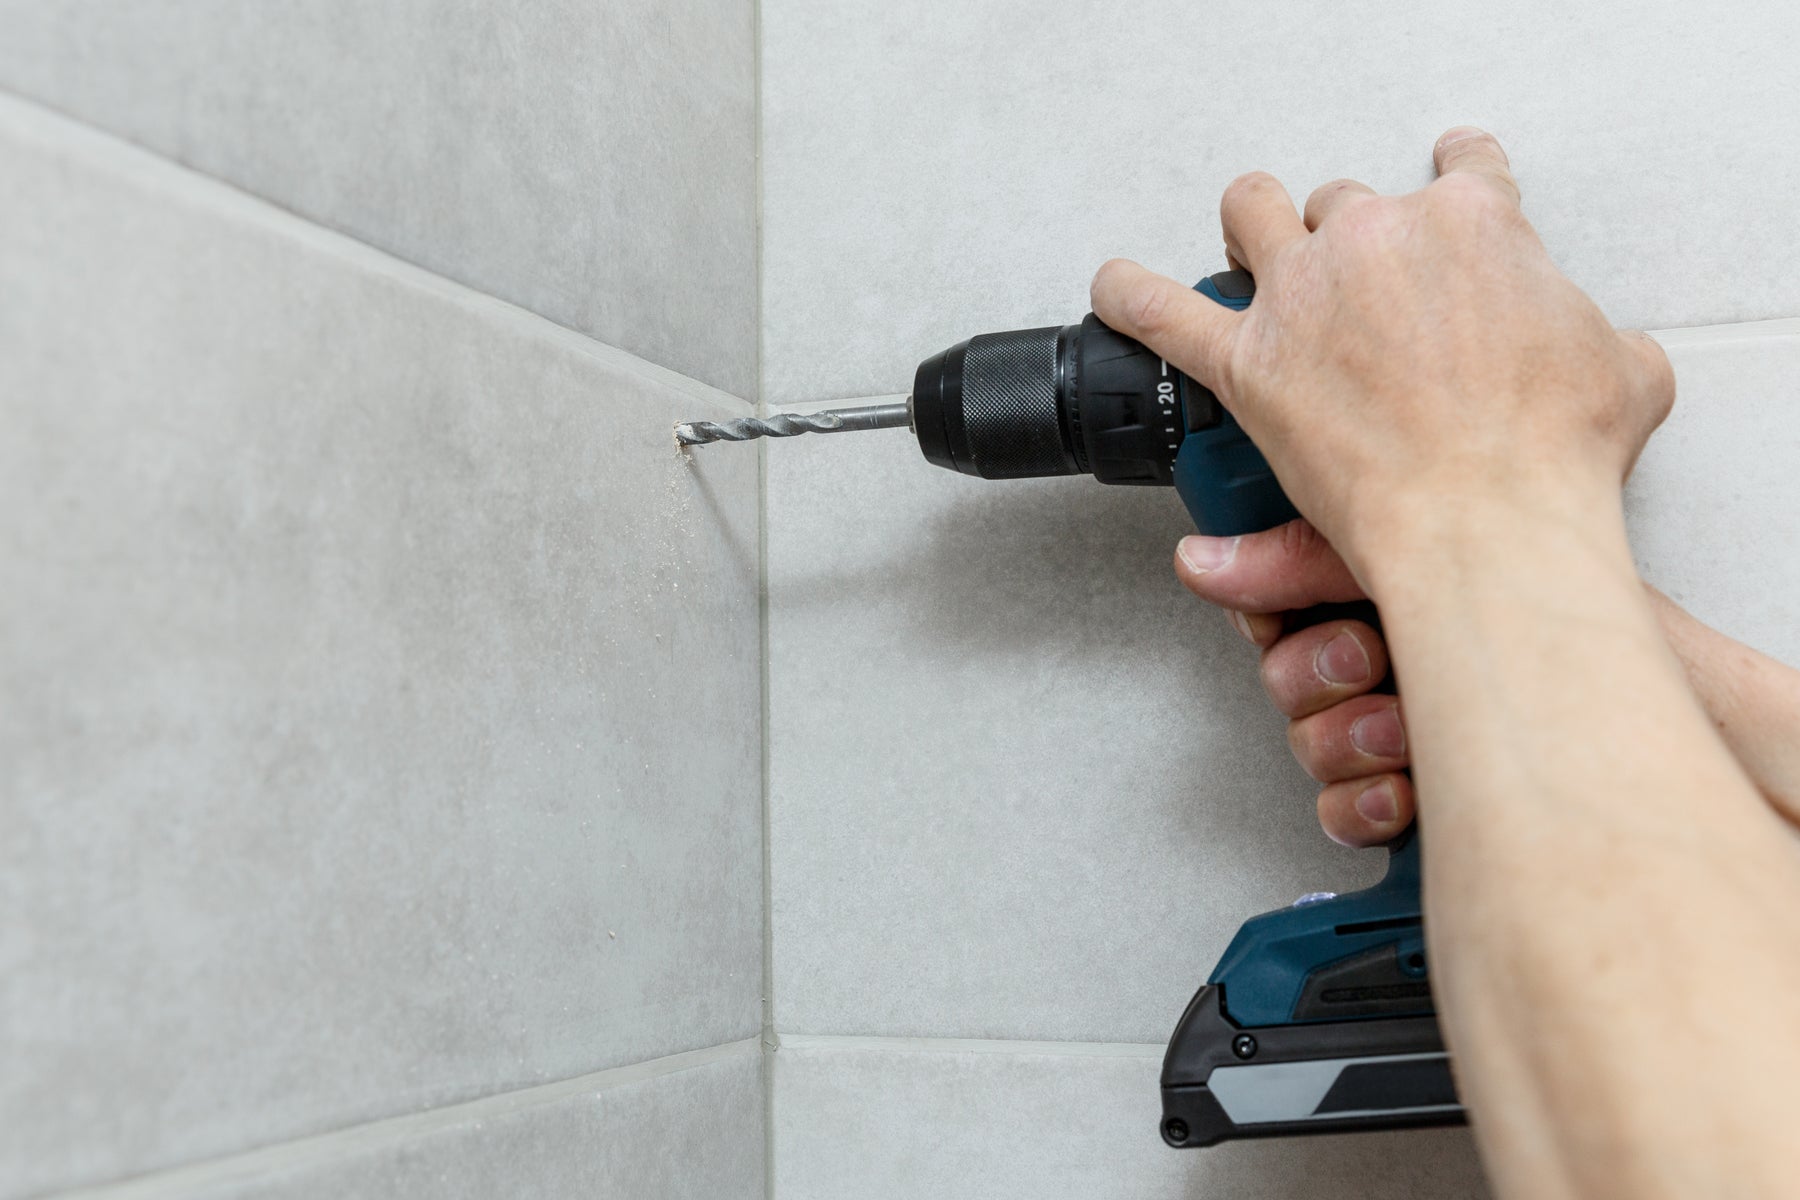
STEP 2: SUPPORT THE TOUGH SURFACE LAYER OF THE TILE
The hardest part of drilling into a tile is the start. Modern day tiles, especially porcelain tiles, often have a highly polished, very hard surface glaze – designed to be strong on the outside to withstand heavy impacts. Using the wrong bit, or pushing too hard, can cause the drill to slip or the tile to crack or shatter. As in most fabrication, construction and maintenance work, choosing the right tool for the job can make a huge difference both in terms of both the time required and the quality of the completed job.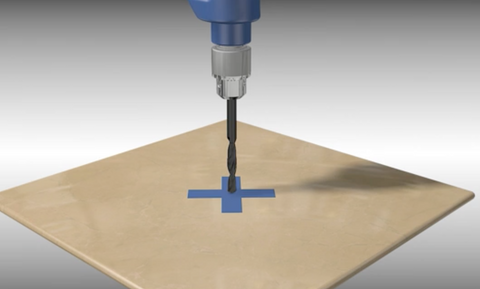
To ensure this step runs smoothly, cover the area with masking tape. Tape over the area in an “X” shape, marking the site of the hole. This will help give the drill bit some traction, reducing the chance of it slipping. The tape also makes chipping less likely on the outer rim of the hole, and also ensures that if the drill were to slip from the marked “X”, it would not damage the tile but only the tape.
STEP 3: KEEP DRILL SPEED CONSISTENT, MAKING SURE THE DRILL BIT DOES NOT OVERHEAT
Once the bit is started, the rest is a matter of patiently boring through the tile until you break through. Hard tiles can take some time.
1. Drill through the tile slowly. Set your drill to a low speed and apply modest pressure to the surface. Apply constant, firm pressure, but not too much or you will break through the tile rather than drilling into it. It is important to add water to keep the tip of the bit cool and prevent it from over-heating and burning out. A bit that is run on too higher speed or without water to keep it cool in this application can become almost complete ineffective if the tip is burnt out through heat – especially with tungsten carbide tips. Gradually increase the speed as appropriate, however, understand that drilling tile is not a question of speed, but persistence. Remember, slow speed and steady pressure.
2. Lubricate / cool with water as you drill. Friction from drilling hard materials creates a great deal of heat, which can scorch the drill bit or even break the tile. The tip of the drill bit should be kept lubricated with water to keep from overheating, wearing down, or breaking. Water is the safest way to lubricate and cool the drill bit as you go, however, always be very careful of the potential for electrocution when working near and around electrical cords, powerpoints and outlets etc when working with water. Where safe, always protect your project and extend the lifespan of the drill bit with a constant trickle of water.
Important: Always check that the wall you are drilling through does not have water or electrical cables behind the tiles.
https://www.youtube.com/watch?v=Oh9tg_ei5Iw&t=3s